

Classic & Modern DIY Vent System

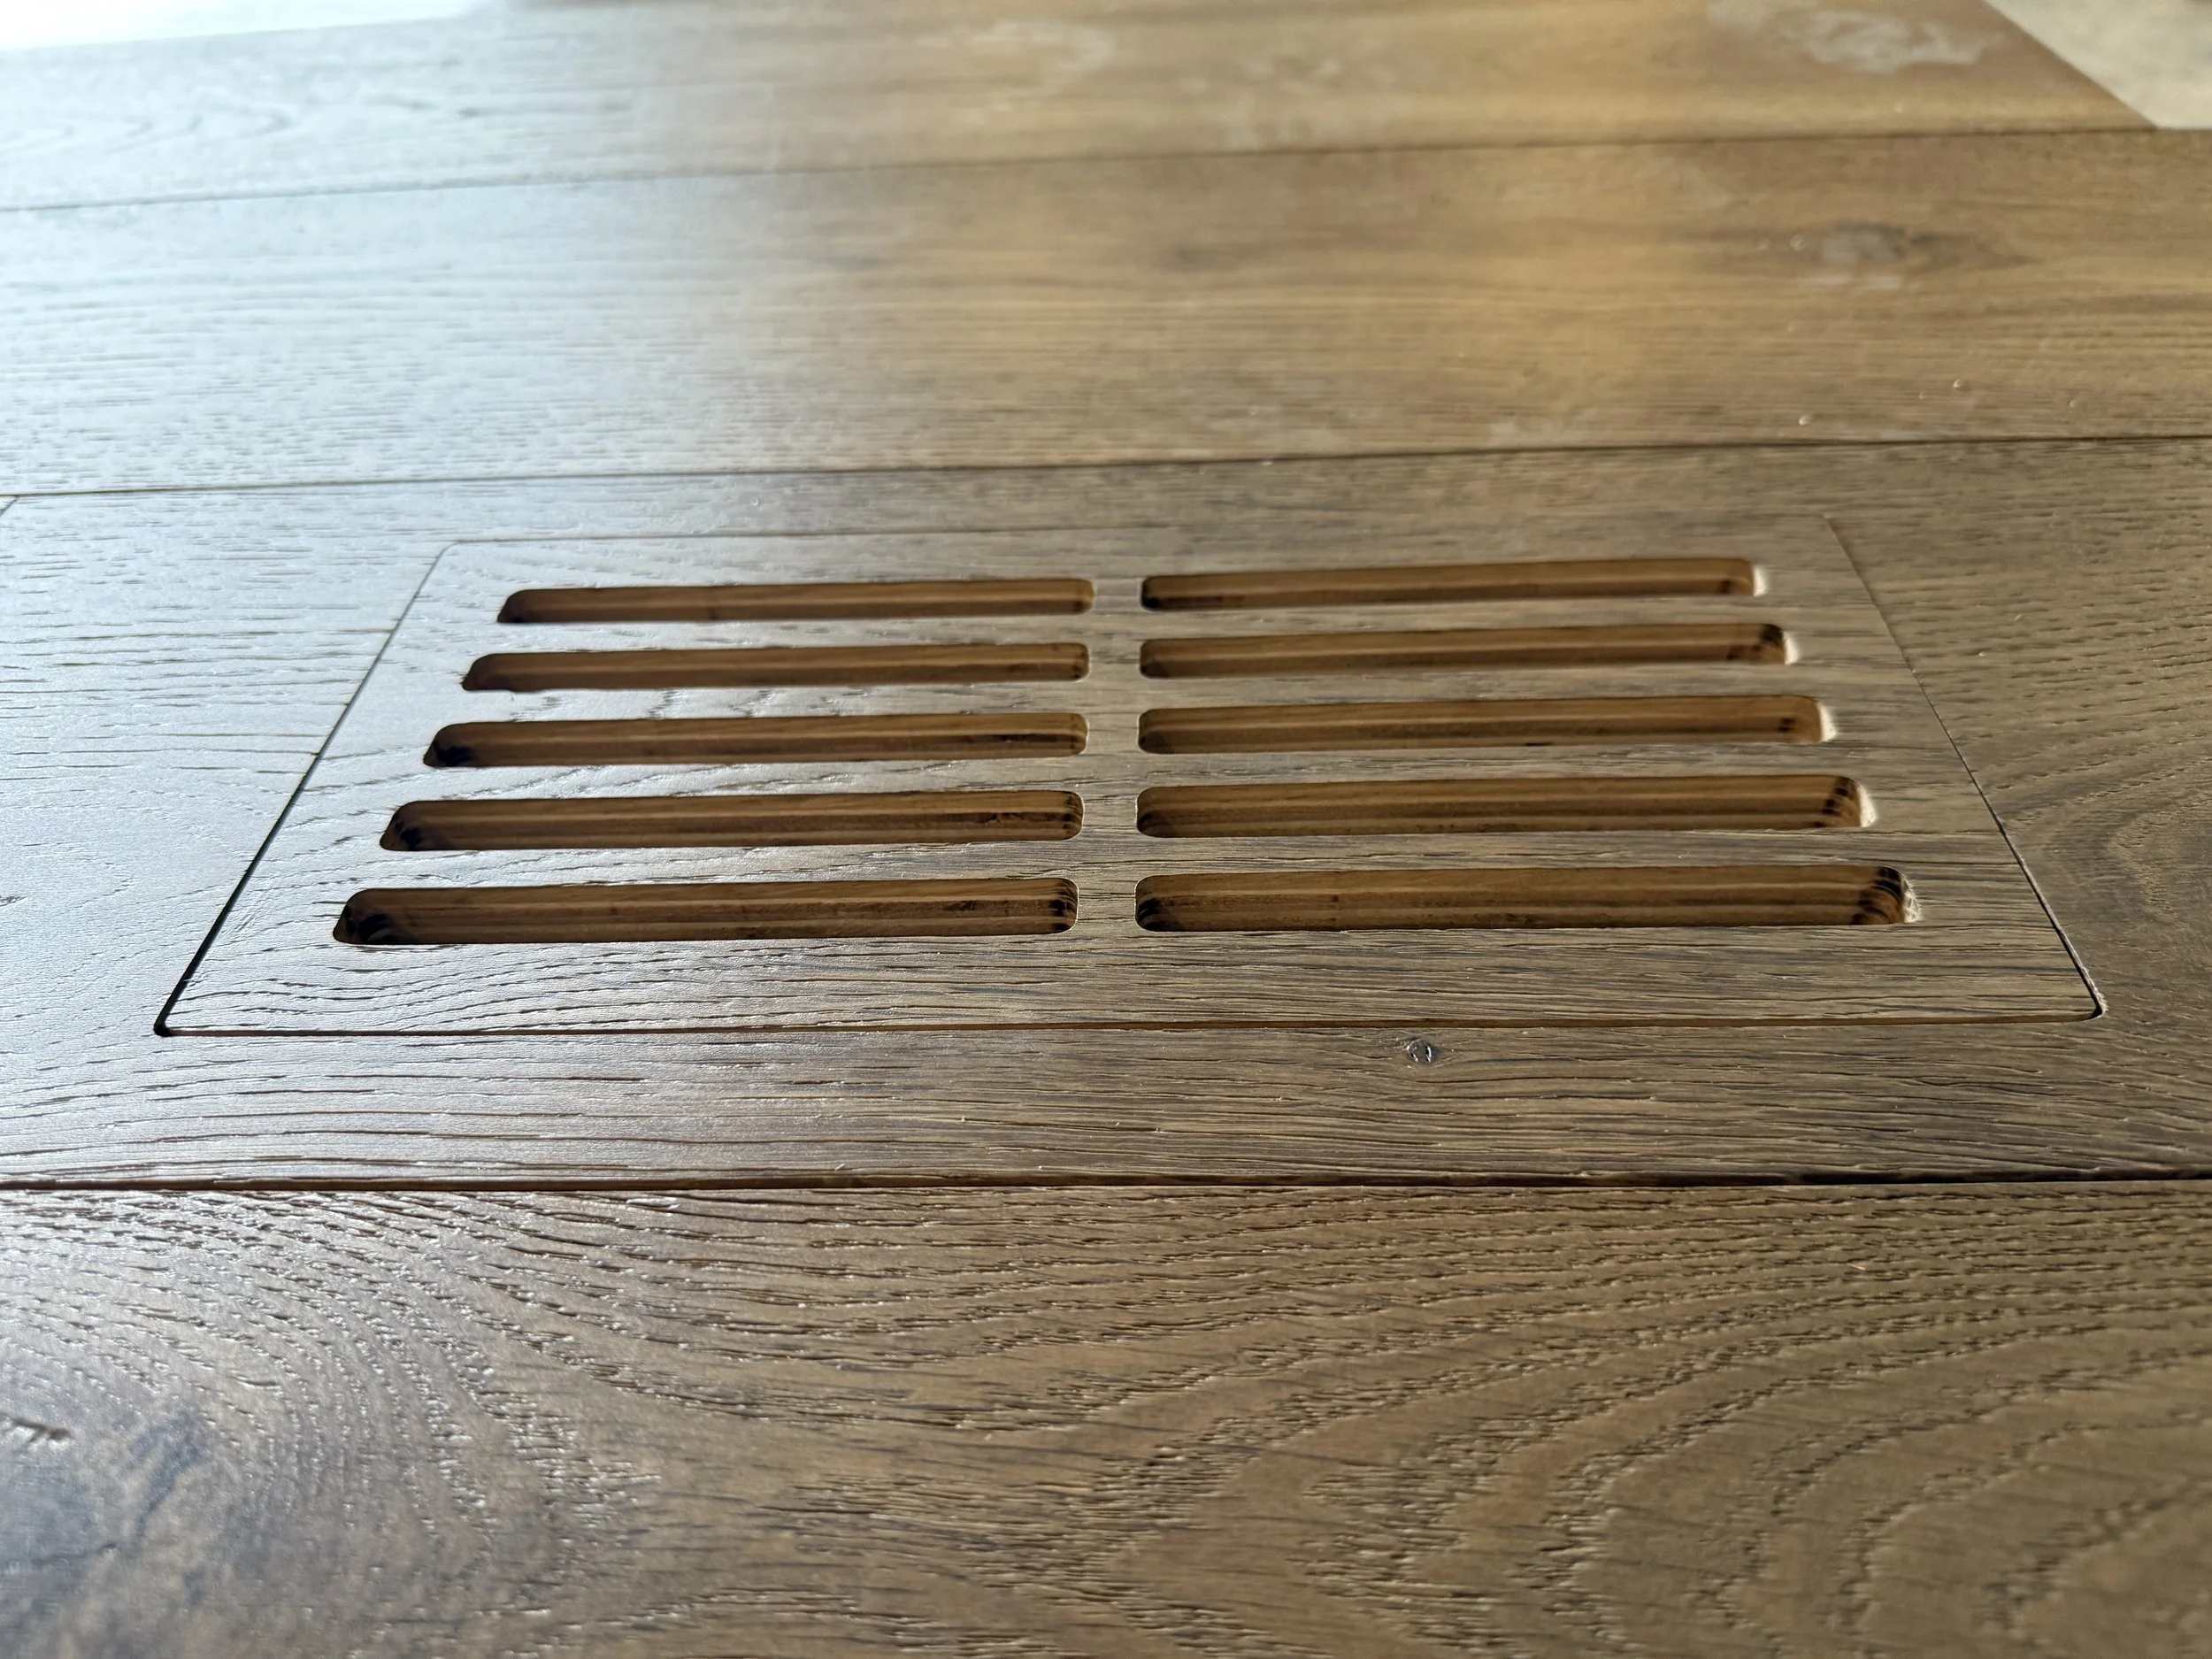
Our DIY Vent Systems allows you to take planks of your flooring and turn them into flush mount vents.
See below for video, components, and step-by-step instructions on how our system works.
Watch our DIY Vent System in action:

Two Hole Template

Bushing

Plunge Router Bit

Double Sided Sticky Tape
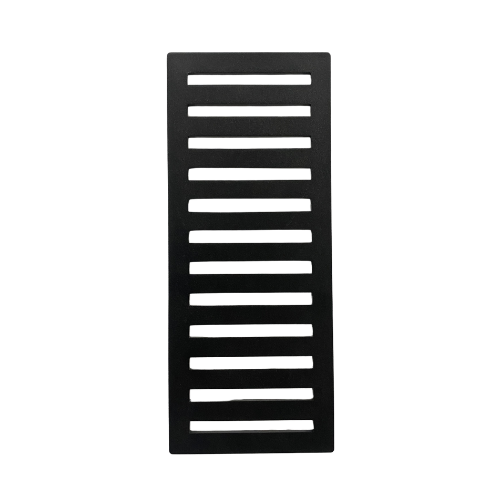
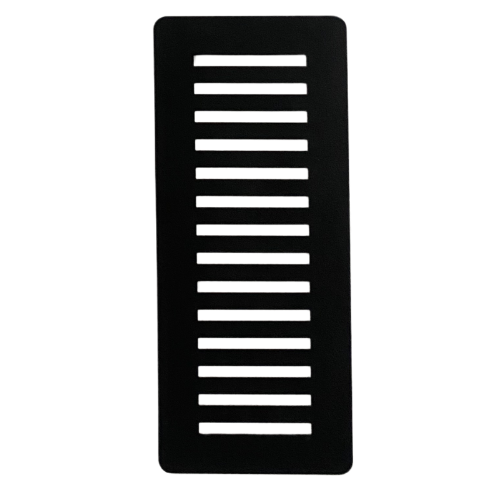
Vent Template
Vent Support Plate
-

Step 1:
Square your Two Hole Template to the floor.
*This is the same template you would use on our metal flush mounted vents.
-

Step 2:
Use a plunge router to router out the hole. This is where the vent will cover the duct.
*We recommend to do a few passes, each a little deeper into the material.
-

Step 3:
Grab an extra piece of flooring that you want to cut the vent out of. Take our DIY Vent Template and adhere the template to the flooring using double sided sticky tape.
-

Step 4:
Use a plunge router to router out the vent starting with the slates, and ending with the outer edge.
*Again, we recommend doing a few passes, each time cutting a little deeper into the material.
-

Step 5:
Take your newly cut vent and place it in the hole that you cut in step 2.
*For vinyl material, slide our Vent Support Plate under the flooring before placing the vent over it.